2022’s Sod Care Guide
Easy Steps To Make Sure Your New Grass Thrives
There’s a boom in new home construction and we’re seeing a big increase in the number of new homeowners requesting sod installs through Blanton Services and asking how best to make sure their new lawn shines.
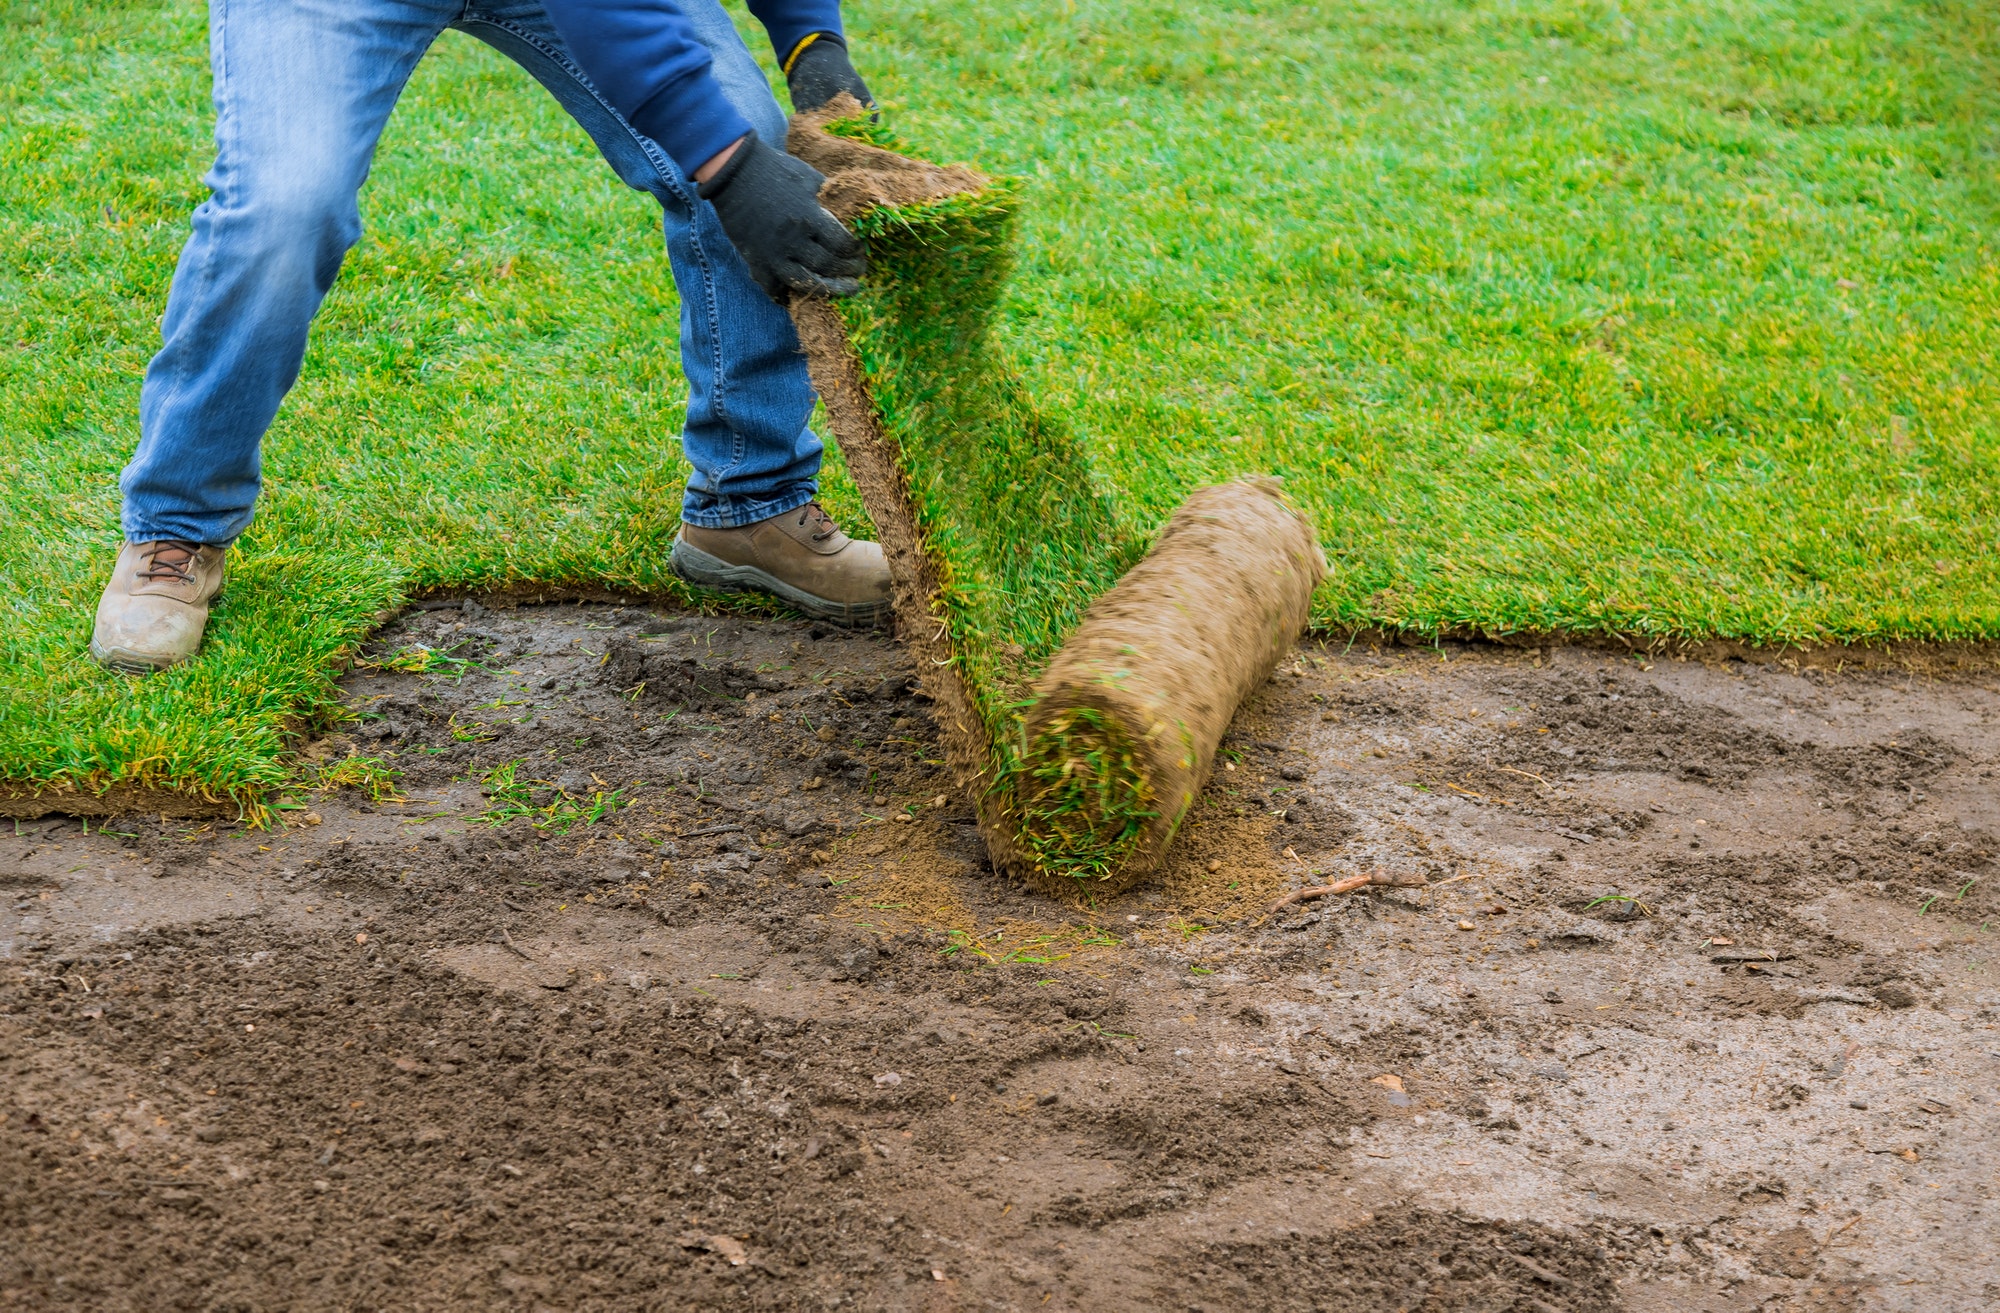
Follow these easy “how to care for new sod” steps to ensure your freshly installed sod roots successfully and fills into a lush lawn for years to come.
Before Install
Before the sod goes down you have a valuable opportunity to prep your yard for sod;
- walk your yard to get a feel for the soil
- test & prep your soil
- confirm your service details
Like most projects, preparation is the key to getting the outcome you’re envisioning. Aside from familiarizing yourself with how to care for new sod, you’ll want to get out in your yard.
Walking your lawn is a great way to get a feel for the soil.
You’re looking to tell how it’s composed and how it’ll hold onto water because these factors will affect your rooting times.
Mostly clay soils, like those we find in Michigan, will take longer to root compared to the sandy soils we service in Florida or Georgia.
We tell every customer it’s worthwhile to test your soil. This will tell you if you need to adjust the PH levels or compensate for any major nutrient deficiencies.
You can buy a couple of rapid tests at your local home and garden store or send a sample off to a soil lab.
If you’re tight on time or just prefer a one-step prep, we recommend you at least spread ‘weed and feed’ fertilizer on the bare dirt right before the sod goes down. This way it’s right where it needs to be to encourage rooting and prevent competition.
If your soil is pretty dense, we also recommend getting the top layer tilled before installation.
Ideally, you want six inches of fairly loose nutrient-rich topsoil.
The last thing to do before your sod is installed is to talk to your crew and confirm the details of your sod installation.
Every job is different, and some customers want to hire out the entire process while others prefer to do everything but the actual installation themselves.
Right After Install
LOOK AT YOUR NEW LAWN! It’s green and beautiful – just remember to take a break from the ogling and water it immediately so it stays that way.
This step is critical to ensure the soil doesn’t dry out your roots and to help bind them together.
Weeks 1 & 2 After Install
For the next couple of weeks, you just want to make sure to keep your new lawn adequately watered and let it do the rest.
Depending on your soil composition and the season, you will want to follow the recommended watering guidelines.
As a rule of thumb soils that don’t absorb and retain water will need more frequent watering.
Your goal is to make sure the soil is never dried out or kept so wet water pushes up if you press down on it.
During this time, we also highly recommend keeping off the grass altogether. This is an unspoken “how to care for new sod” rule that will help keep things level and prevent damage or tearing.
Weeks 3 & 4 After Install
By now, your roots are growing in full force and starting to bind with the soil.
Keep the watering consistent with the first two weeks so that process can be complete.
You can now safely walk across the lawn, but it isn’t ready for horse (or dog) play just yet. It’s still much easier to tear than an established lawn with a dense root layer.
Weeks 5 or 6
Now your lawn should be fairly well-rooted and ready for its first cut after installation.
The first mowing should be 5-6 weeks post-install. The grass should be significantly taller than you’d normally let it grow too.
Signs your sod is ready for its first cut;
- The grass is 6-8″ tall or higher (10-12″ first cuts are not unusual)
- Seed topping is visible
- Seams between rolls of grass are no longer visible
- You can physically pull up on your lawn and it does not move (this means it’s likely rooted).